A Complete Cloud86 Guide: Choosing a Hosting Plan, Creating Backups, and More
In this guide, I'll show you how to choose a hosting plan at Cloud86 that meets your needs, how to register a domain name, how to properly set up WordPress, and much more.
Everything you need to know about getting started and managing your web hosting with Cloud86 can be found here.
Setting up hosting, choosing a hosting plan and registering a domain name
To set up hosting with Cloud86, first click on this link to go directly to their hosting plans page.
What you'll find here are 4 different hosting types:
- Webhosting
- Managed WordPress
- Managed WooCommerce
- Managed VPS
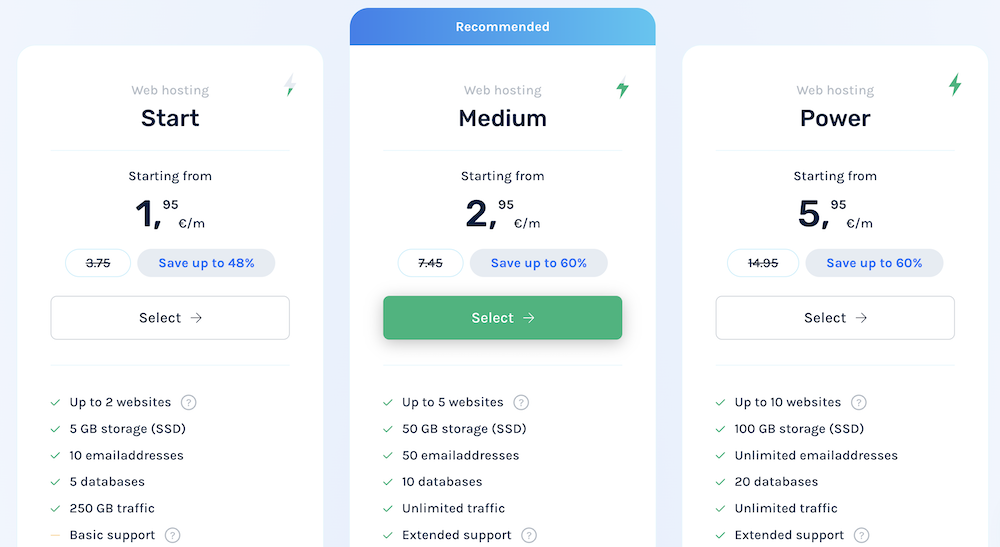
If you have or want to set up a small to medium-sized site (think, up to 20,000 monthly visitors), then you can manage perfectly well with one of Cloud86's Webhosting plans.
For a larger site, a web shop, or a site with significant business interests involved, it's better to choose Managed WordPress (which is the same as Managed WooCommerce) or Managed VPS.
Based on the scenario of a small to medium-sized site, choose the Webhosting Medium plan. This gives you 50 GB storage, unlimited data traffic, and access to better support than what the very cheapest plan offers.
Then it's time to register a domain name for your site (if you already have a domain, check the “use your own domain” option).
Enter your desired domain name and click Check availability.
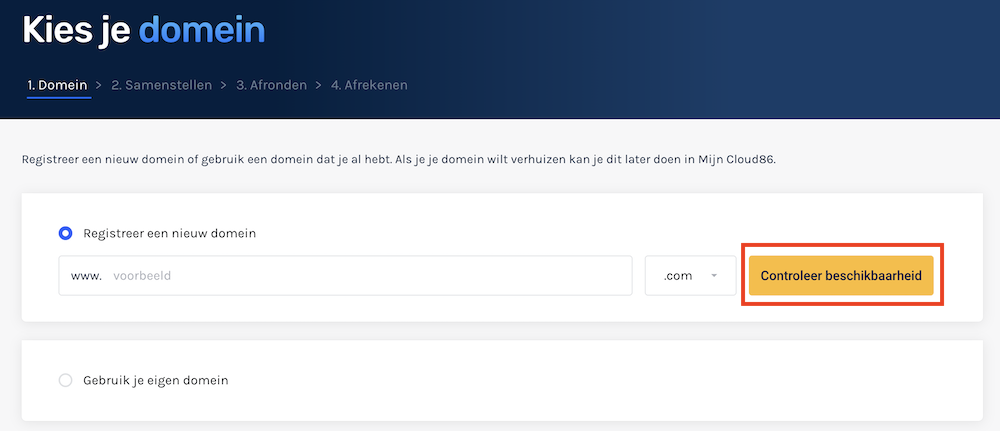
Then, if your domain name is available, click on Add and then on Continue.

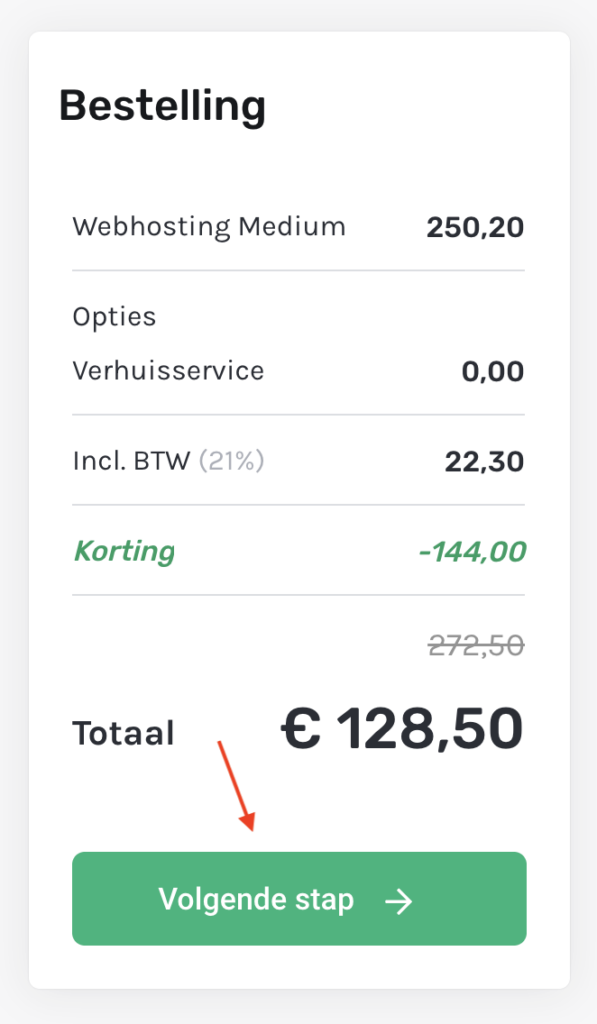
It's time to choose a subscription period for your hosting plan. If you choose 36 months, you'll get the highest discount.
If you wish to transfer from another hosting provider to Cloud86, check the free migration service option.

When you're done creating your plan here, click on Next step.
And finally, you only need to provide your personal details, choose a payment method, and then you can pay.
ATTENTION: your hosting plan will be immediately active after this, but it can take roughly an hour before your domain name is operational. Because of this, you'll usually need to wait a little while before you can start working on your website.
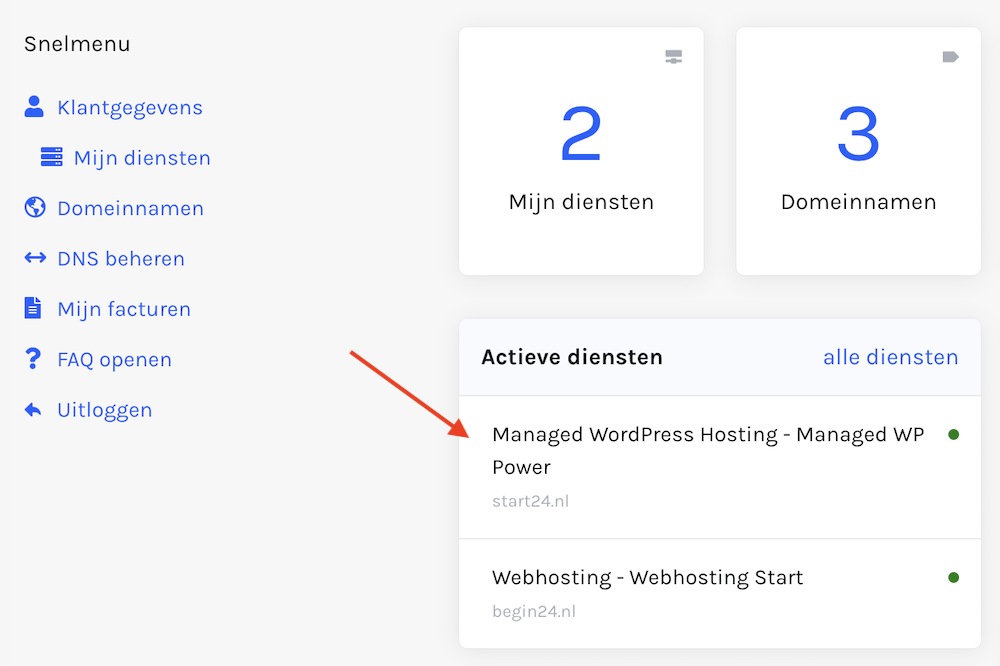
The Cloud86 dashboard
When you have ordered your hosting plan, you will receive the login credentials for the Cloud86 dashboard.
This dashboard looks as follows:
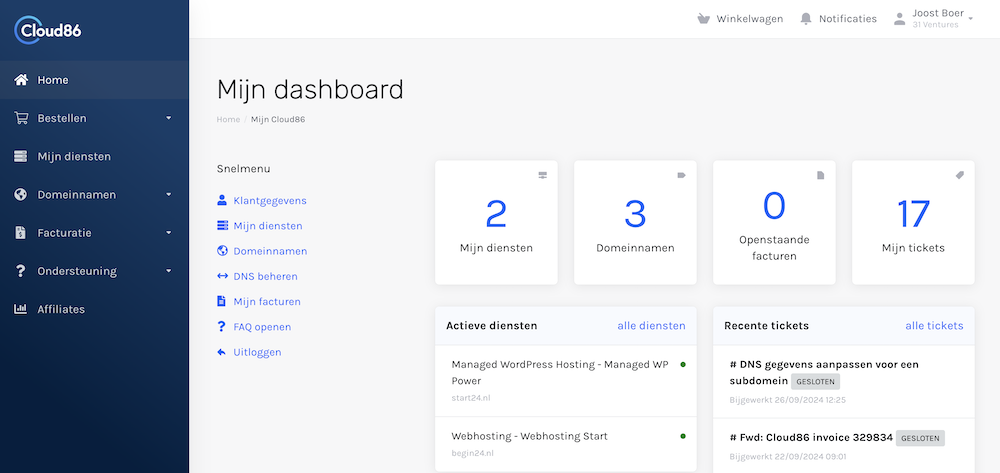
Here you can manage administrative matters such as viewing your invoices or changing your payment method. You can also access the knowledge base from here and get in touch with the support team (more on this later).
However, to get started with your actual website, you'll need to log in to Plesk (a well-known hosting control panel). To do this, click on your hosting plan.
Choose Login to Plesk.

And then you can get started within Plesk with setting up and managing your website.
Installing WordPress and an SSL Certificate
You can install WordPress on your website with Cloud86 within just a few clicks.
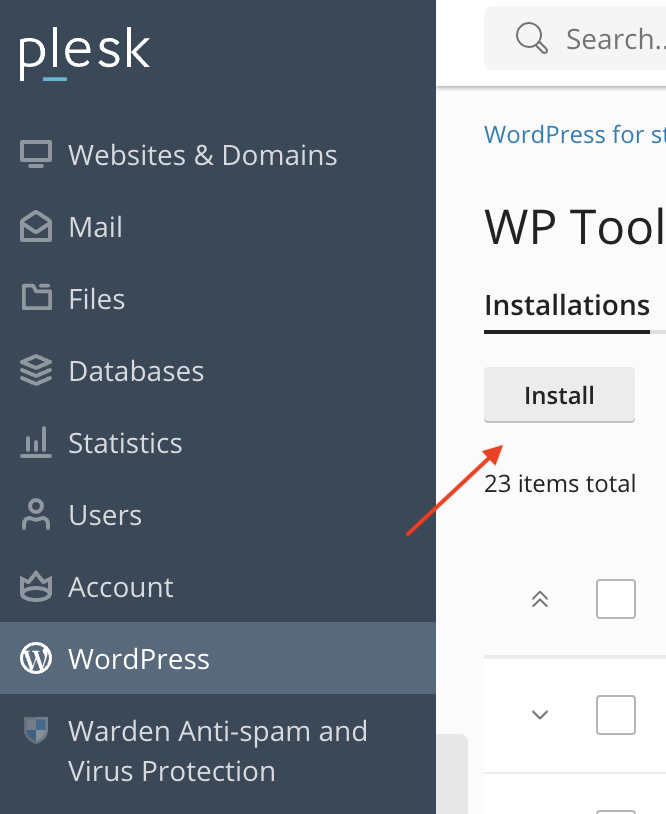
Within Plesk, navigate to WordPress in the left menu.

Then click on the Install button that appears.
In the Installation Path, your domain name should be selected (if you have multiple domain names, make sure you choose the domain where you want to install WordPress).
Under the WordPress administrator section, you can then choose a username, password, and email which you'll use to log in to your WordPress dashboard.
You don't need to do anything with the Database and Automatic Update Settings for now.
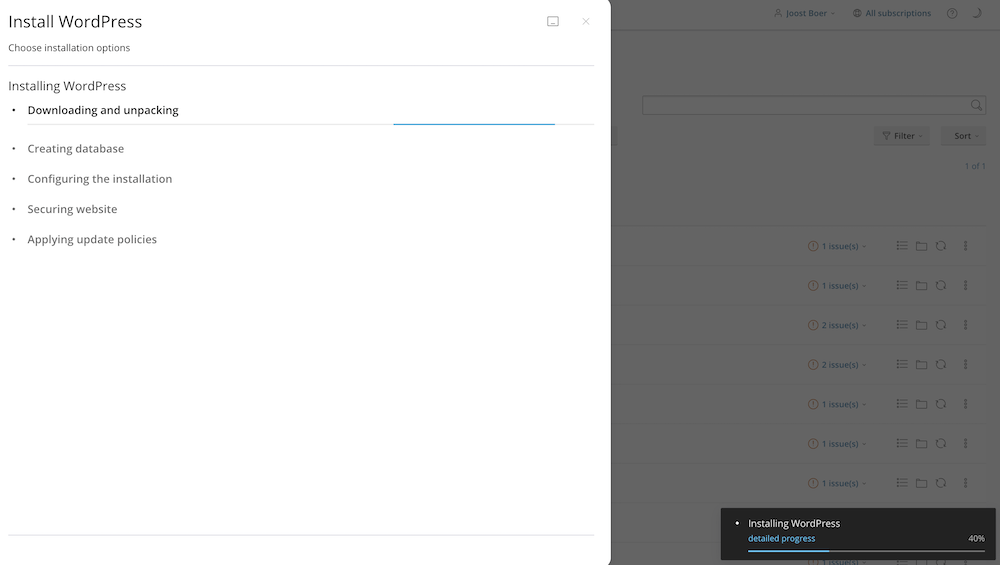
Click on Install once you're done with all this.

After clicking on Install, it will take a few minutes for WordPress to be installed.
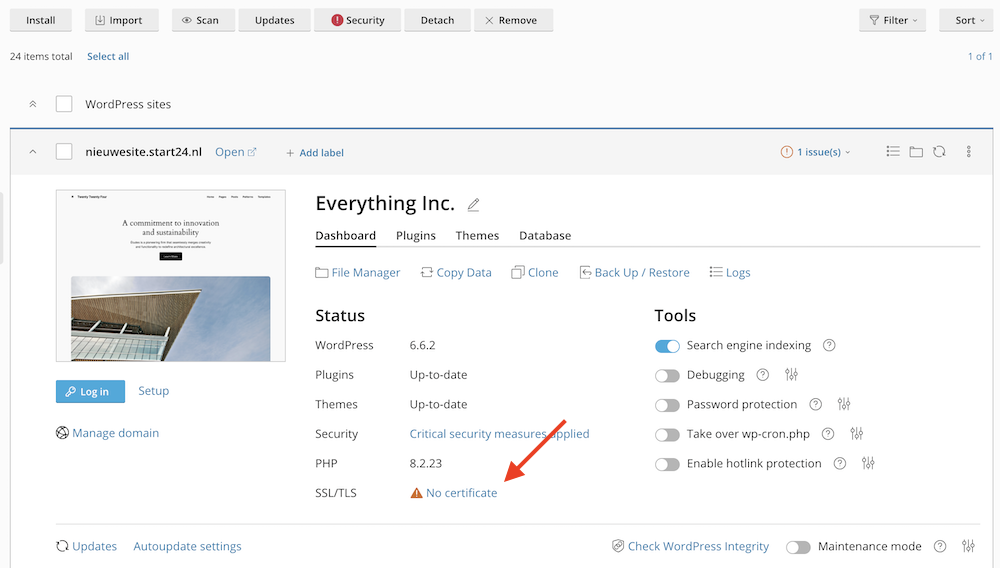
Now that you've installed WordPress, it's time to install an SSL certificate. An SSL certificate ensures that your website runs through a secure connection.
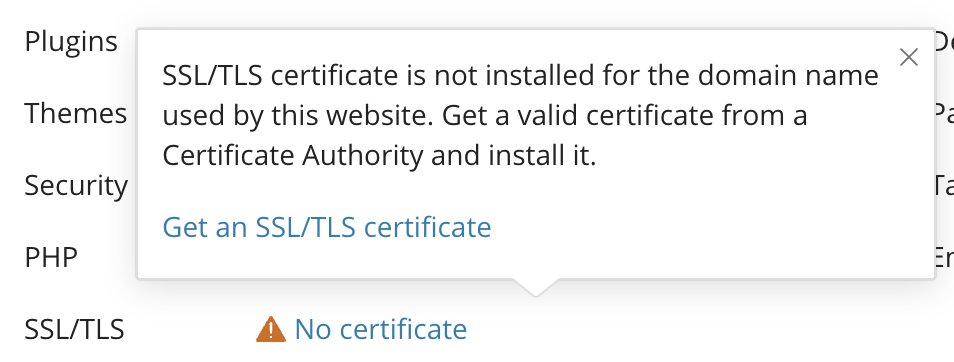
To do this, click on No certificate and then on Get an SSL/TLS certificate.
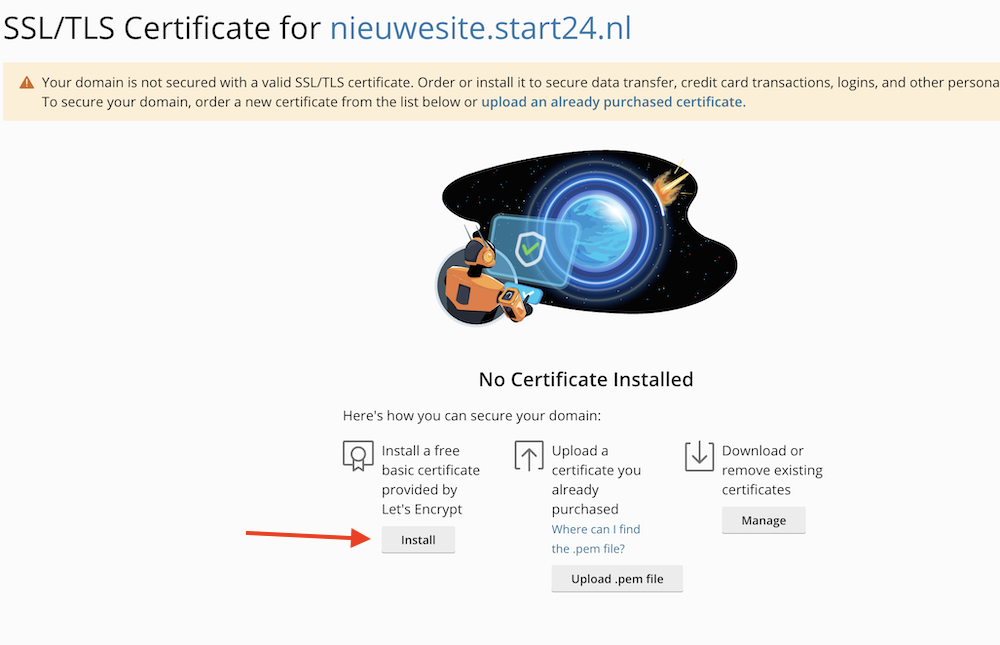
Then select the left option, the free SSL certificate from Let's Encrypt, and click on Install.
Then click on Get It Free.
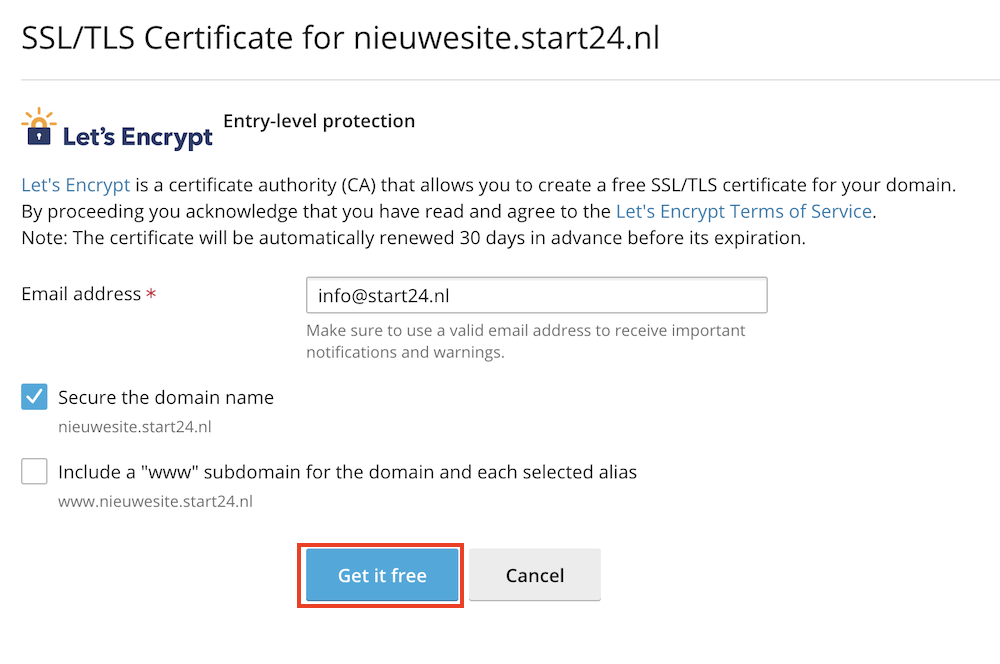
Then you will see this screen, which shows that the SSL certificate has been successfully installed.

Managing WordPress updates
For WordPress sites, it's extremely important to ensure that the software your site runs on is always up-to-date. This includes the WordPress core, the WordPress theme, and the WordPress plugins. Keeping everything updated ensures your site continues to function properly and significantly reduces the chances of malware infecting your site.
For Cloud86, you can update your site's software in the following way.
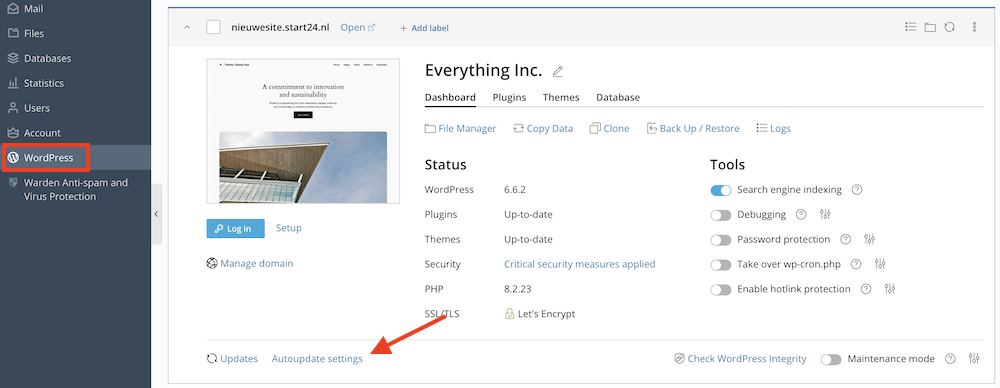
Navigate first in Plesk to your website via WordPress in the left menu. Then click on the Autoupdate settings.
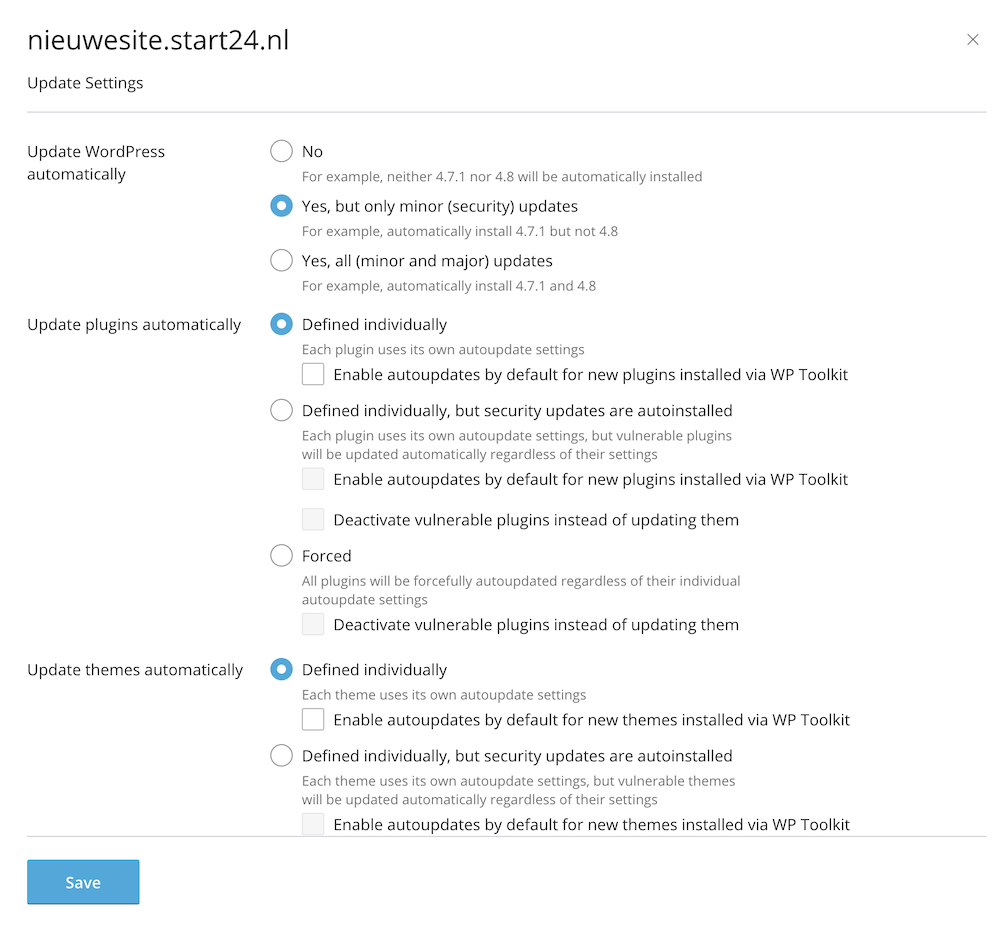
Here you can then – should you wish to do so – enable automatic software updates for your WordPress site.
At WebsiteGecko, the settings for this look as follows:
When software on your WordPress site is not up-to-date, this will be indicated under the Status section.

Click on these links to update the relevant software.

Finally, you can also set up automatic updates by theme and plugin using the following tabs.

Creating a Manual Backup
At Cloud86, backups are created for you daily and are kept for up to 7 days.
Sometimes it can be useful to create a manual backup.
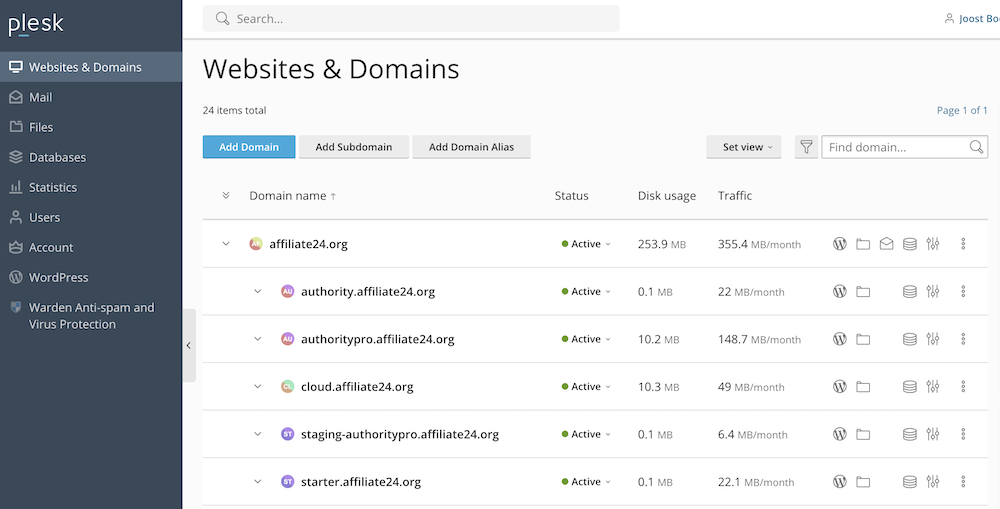
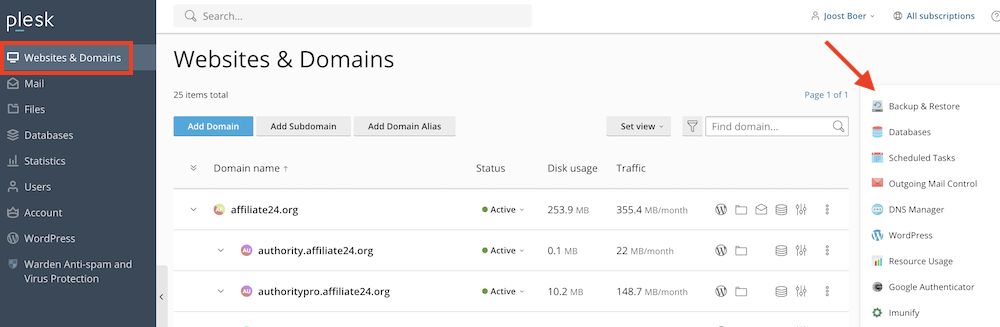
To do this, go to Websites & Domains in Plesk and navigate to Backup & Restore.
Then you'll see the following screen. The settings you see in the image below are the ones I use myself.
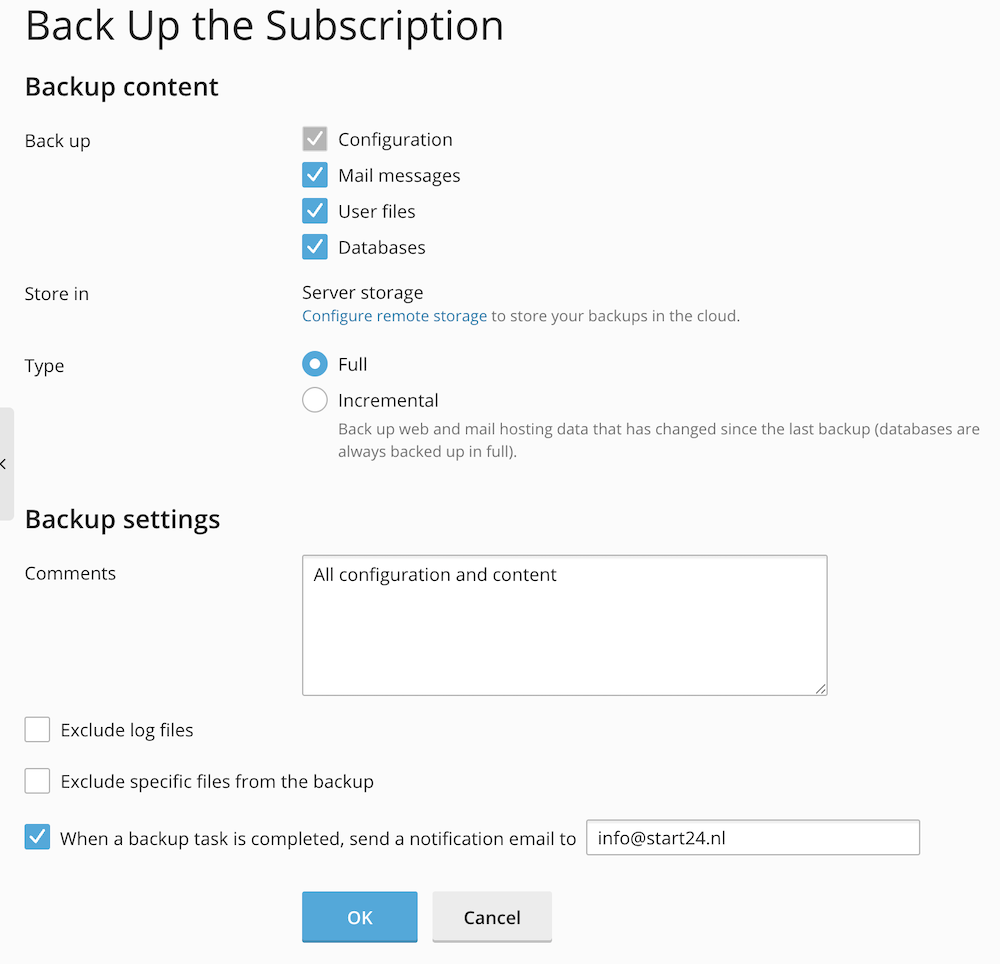
If I create a backup myself, I want to do that for all files and I want to make sure it's Full – not Incremental.
Normally the backup is stored on the Cloud86 server, but by pressing Configure remote storage, you can also ensure that the backup goes to the cloud.
When you have configured everything, press OK. The backup will then be created.
Please note: when your website(s) take up many gigabytes, this process may take up to half an hour.
Restore a backup
You can restore a manually created backup or an automatic backup at any time. This is very useful if something has gone wrong with your website.
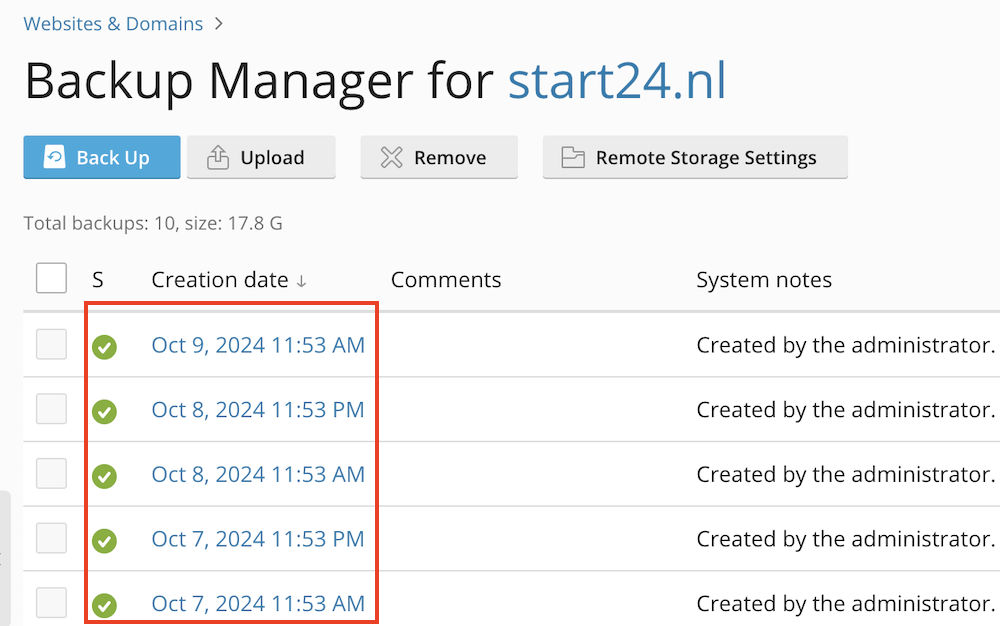
You do this through Plesk by going to Websites & Domains » Backup & Restore.
Then click on the backup that you want to restore.
Then you can choose to restore specific parts of your website (such as just the email, or a single site) or all files.
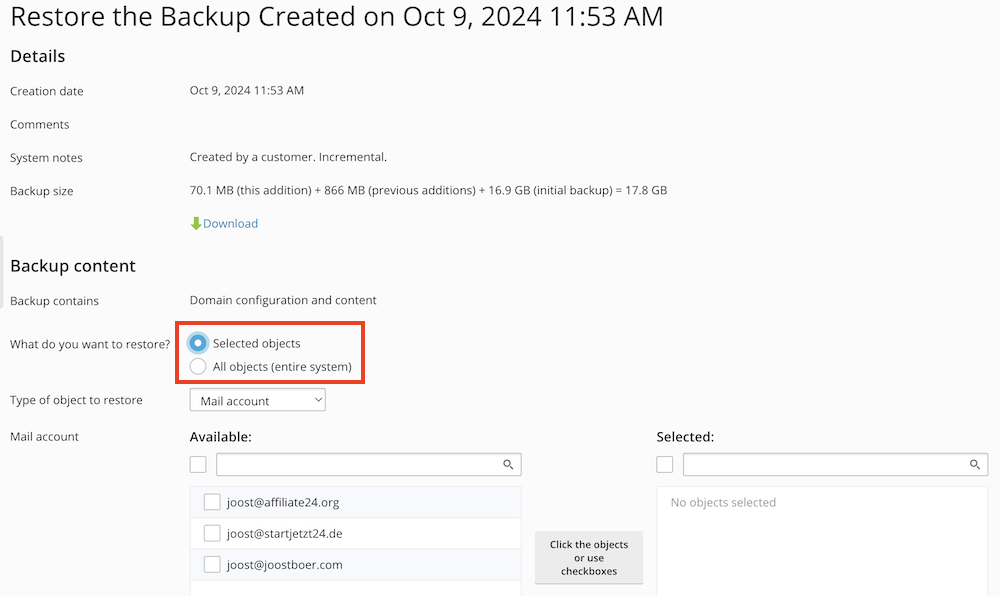
When you manage a single site, the simplest option is to just check All objects. Then, when you want to restore a backup of your website (but not, for example, your email inbox), choose the following settings and click Restore.

If you manage multiple sites, and you want to restore the backup of one specific site, check the Selected objects box, choose Sites from the dropdown menu below, and then select the specific website you want to restore.

Creating a staging site
A staging site is an exact copy of your website. On it, you can work on a new design or experiment with a new WordPress theme and new plugins, for example. Without your visitors noticing anything.
A staging site lives on a subdomain (for example, staging.yoursite.com).
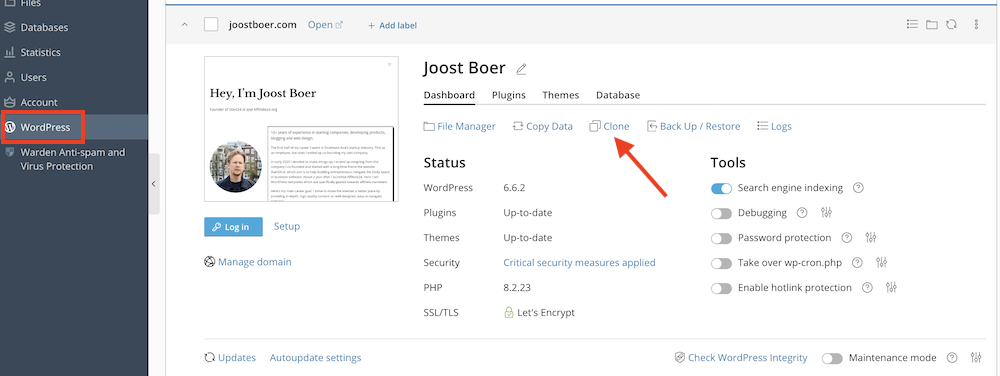
At Cloud86, you create a staging site as follows. Navigate to WordPress within Plesk and click on Clone for the website you want to make a staging site for.
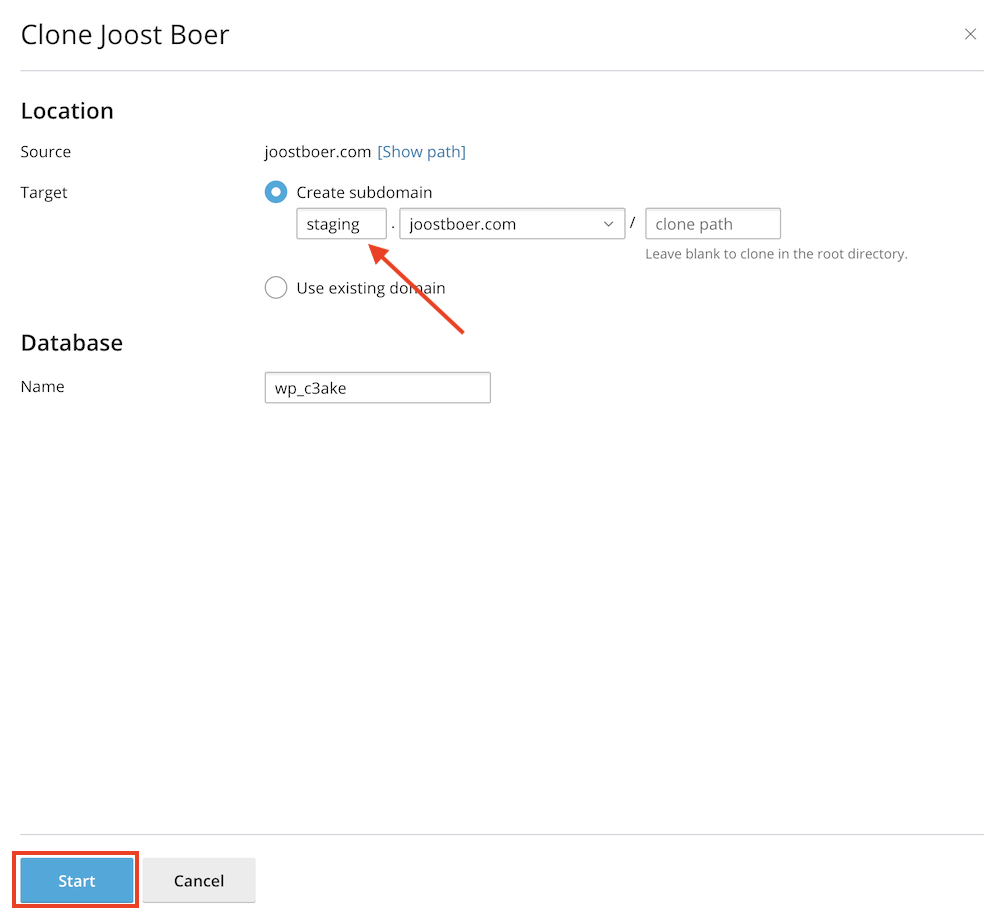
Give your staging site a name (if you really want to prevent people from finding your staging site, choose something less obvious than “staging”) and click on Start.
If at some point you are satisfied with your staging site and you want your visitors to see it, click on Copy data on the staging site.
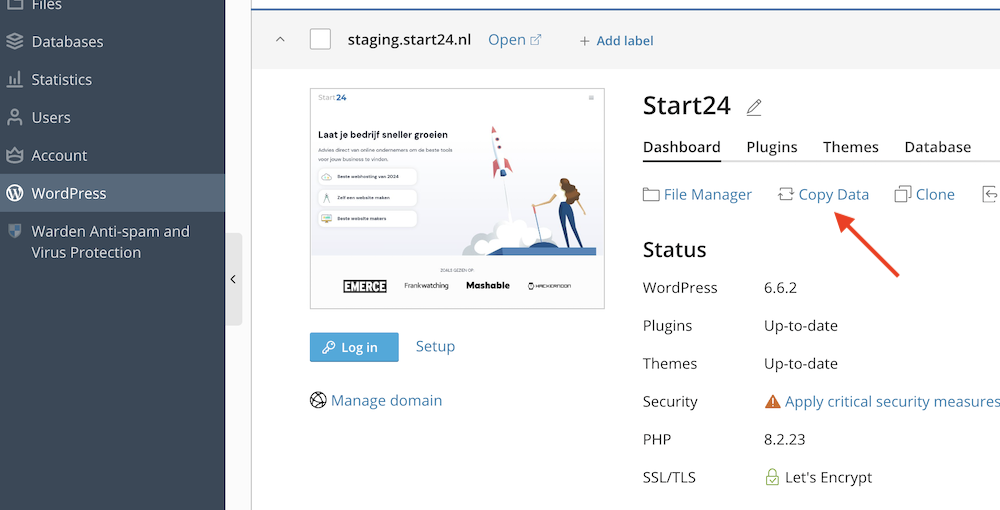
I usually use the following settings myself.
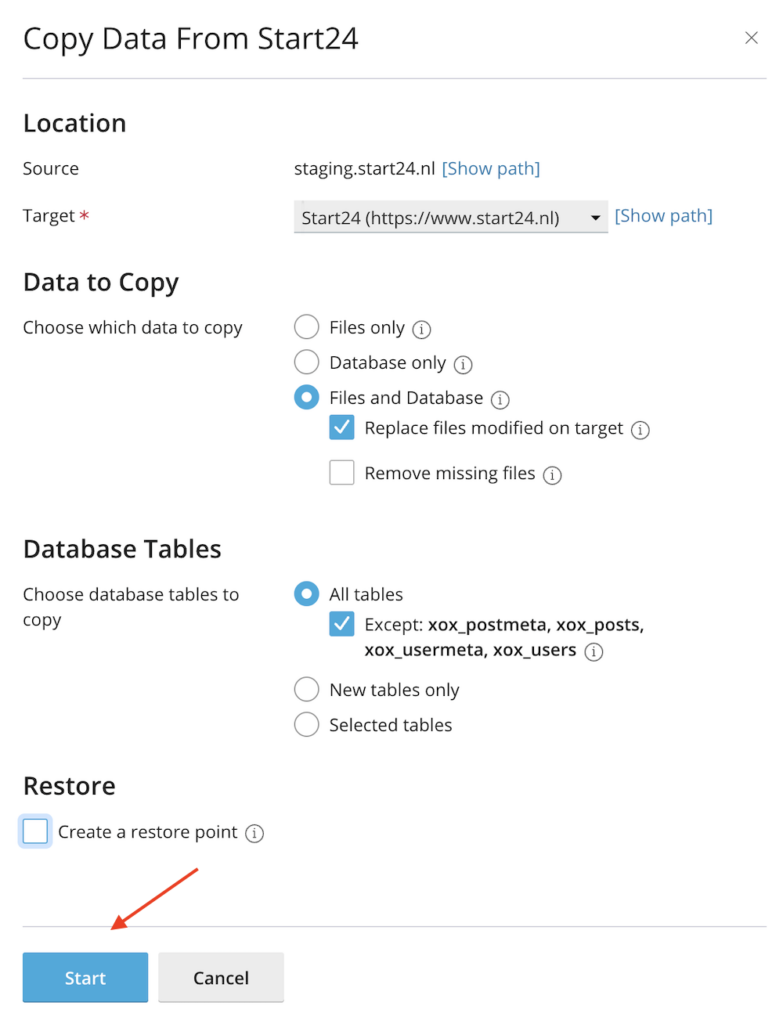
Something to pay attention to with Database Tables: by default, the articles and users from your staging site are not copied to your live site. This is because in many cases people continue to add and modify blog articles on their site. If you want the blog articles and users from your staging site to transfer to the live site, make sure that Except: xox… is not checked.
Click on Start to then merge the staging site with your live site.
Creating a subdomain
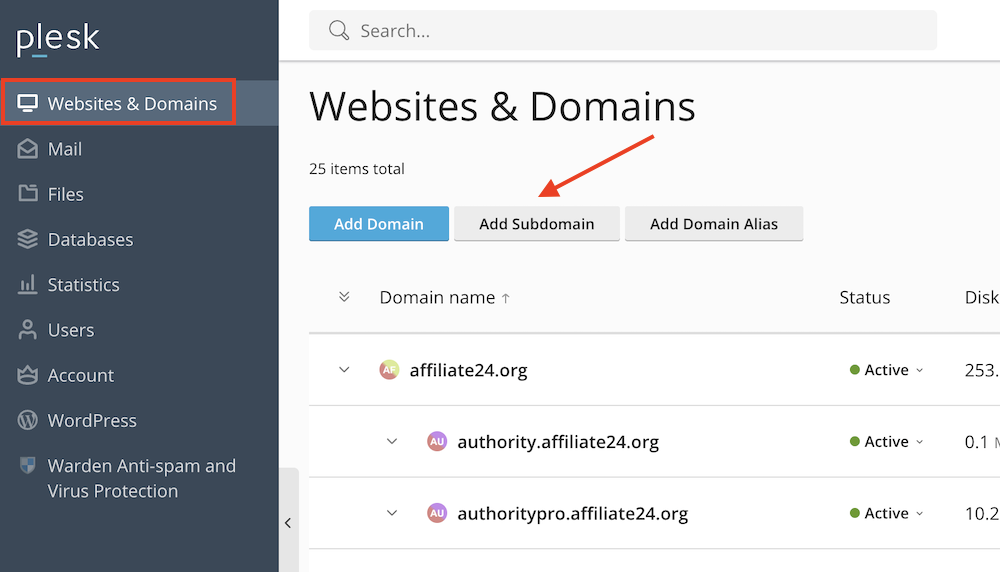
Creating a subdomain at Cloud86 can be done via Websites & Domains » Add Subdomain.
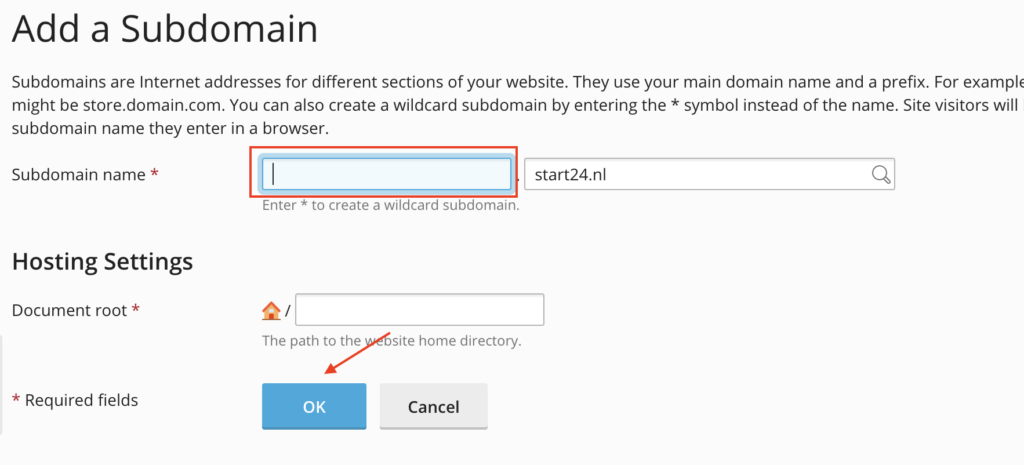
Then give a name to your subdomain and press OK.
Set up email
You can set up a business email address through Cloud86 by going to Mail » Create Email Address.
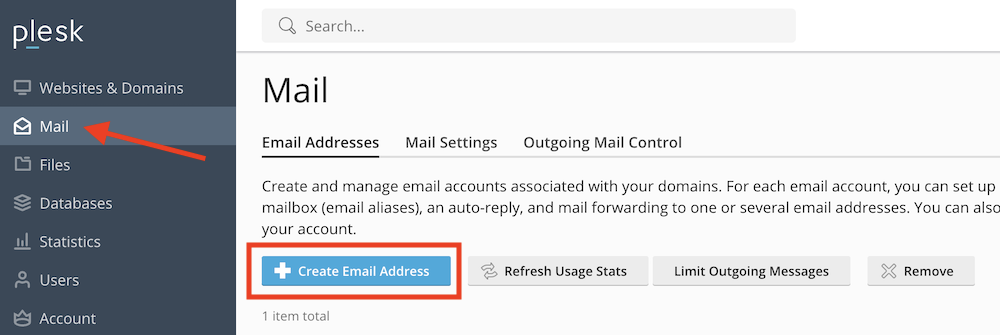
Here you can then set up an email account by choosing an account name and a password (you don't need to change the other settings).
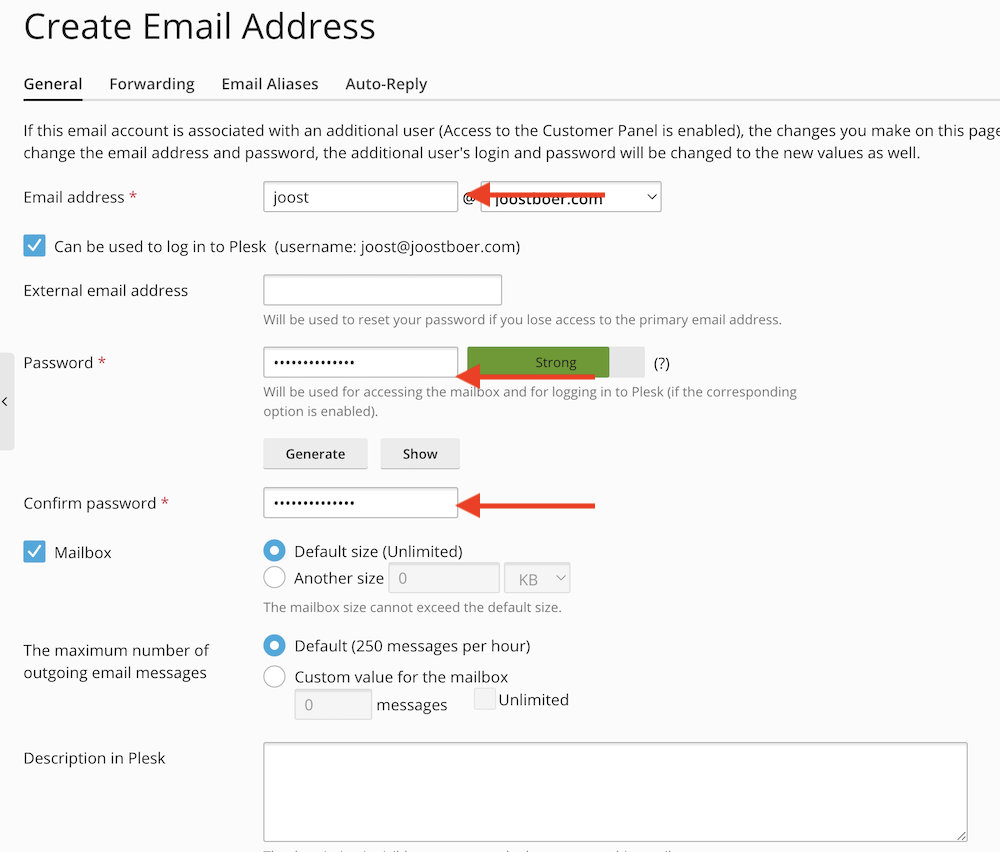
That's all. You can then log in to this email address by clicking on the icon next to settings beside the email address.

Cloud86 uses open source email software.

Helpful resources
These might also be interesting articles for you: