A Complete Hostinger Guide: Choose a Hosting Plan, Register a Domain Name and More
In this guide, I'm going to show you how to choose a hosting plan at Hostinger that meets your needs, how to register a domain name, how to properly set up WordPress, and much more.
Everything you need to know about getting started and managing your web hosting with Hostinger can be found here.
Setting up hosting, choosing a hosting plan, and registering a domain name
To set up hosting with Hostinger, first click on this link to navigate directly to their website.
Scroll down and you'll see their 3 most popular hosting plans.

I recommend choosing their Business plan because you get the faster NVMe storage type (their cheapest plan has SSD storage), backups are made daily (instead of weekly), and you get access to the staging/test environment feature (which in my opinion is critical for any serious website development).
The Cloud Startup plan is probably a bit too heavy for what you need, so I wouldn't choose that initially. Besides, you can always upgrade to it later if necessary.
Hostinger also offers cloud hosting and VPS hosting. However, for (most) new website projects, you don't need these types of hosting. Additionally, on their site you'll also find a separate page for WordPress hosting, but at Hostinger this is exactly the same as their standard web hosting.
Then you need to choose a subscription. The longer the subscription period you sign up for, the bigger discount you'll get.

After you have chosen a subscription period, you need to create an account. The easiest way to do this is via a Google account (top button) if you have one.
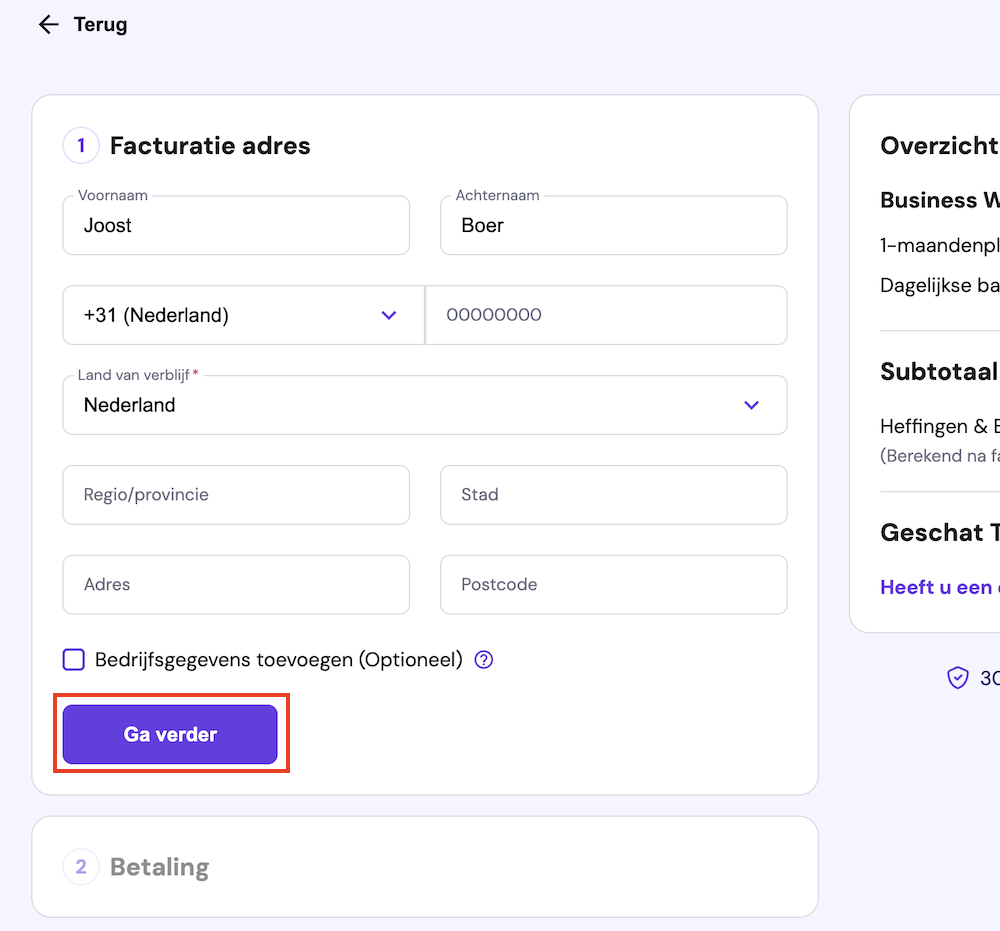
Then fill in the details of your billing address and click the Continue button.
Make sure to check Add Company Information if you're going to use the hosting for business purposes.
Then you choose a payment method.
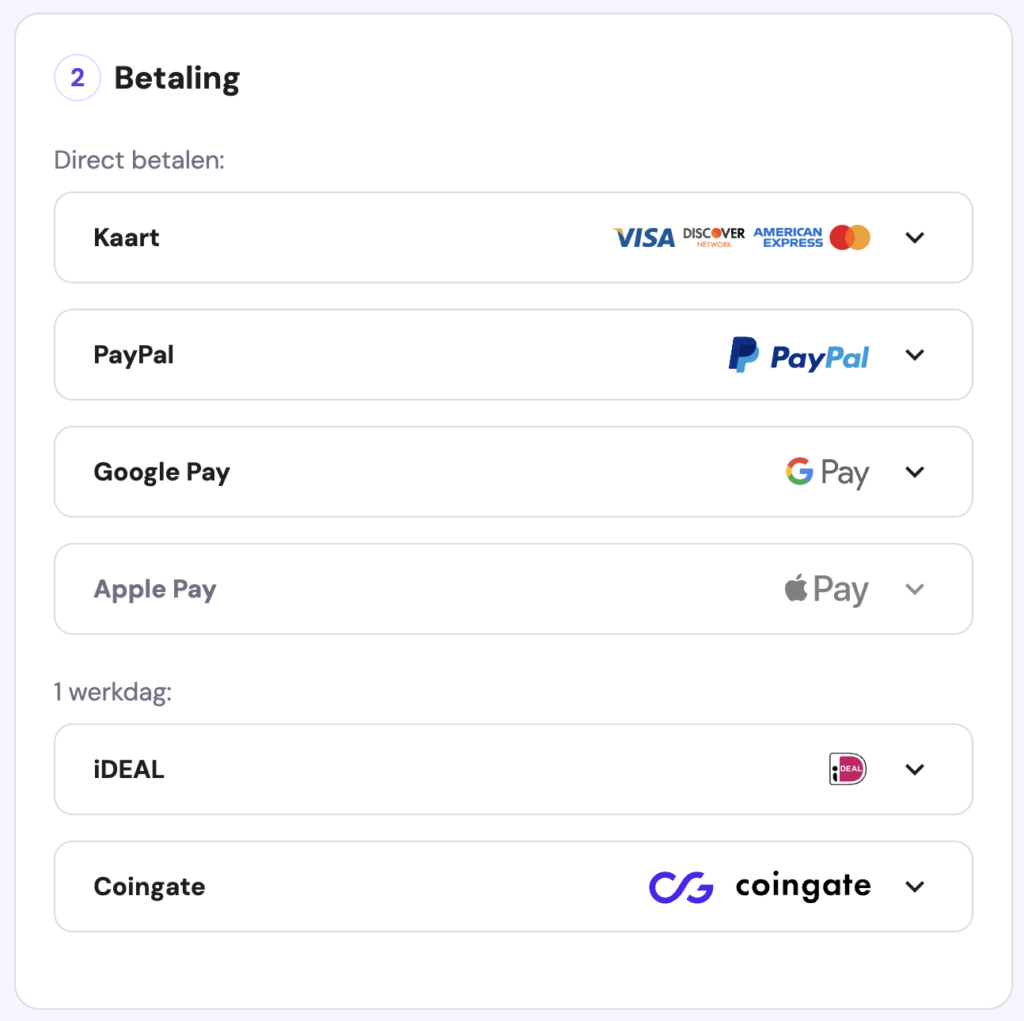
After this, you can pay.

After you have completed your payment, you will be guided through a wizard that helps you create a starting point for your website and register a domain name.
I'm going to assume for the steps below that you want to create your site with WordPress, that you're making the site for yourself, and that you want to create a new site.
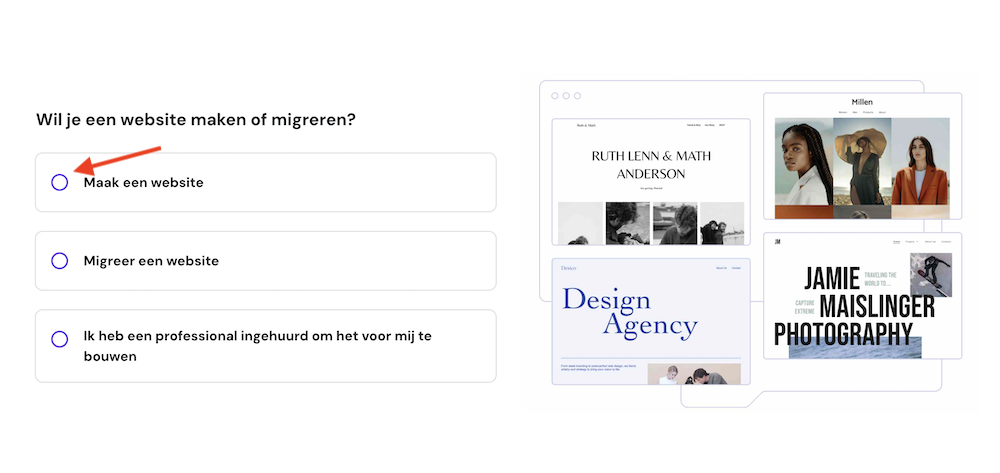
On the first screen of the wizard, select Myself or my company.

Go for Create a website.
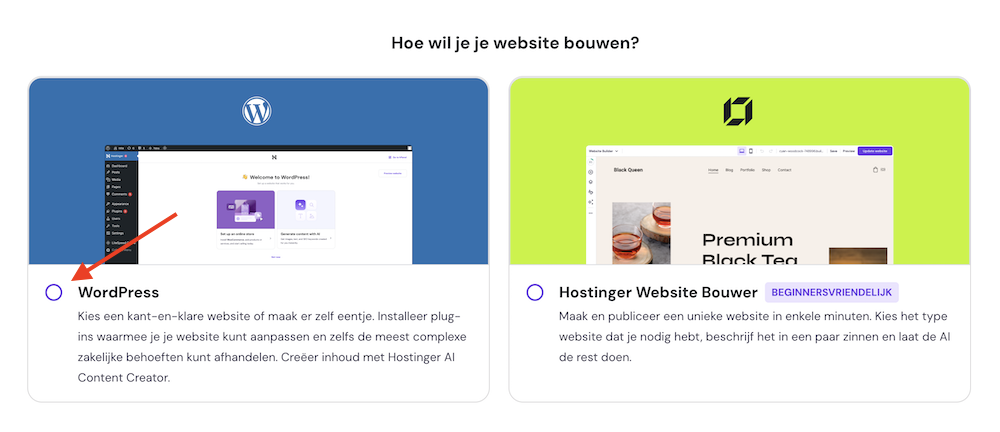
Then you choose WordPress.
(If you want to know more about the Hostinger Website Builder, read our review.)
Next, set up the login credentials for your WordPress website.

Please select the type of website you want to build.

You can then build your WordPress website with AI, but if you ask me, you're better off with the Ready-made websites and themes option.

I recommend that you then choose Build from scratch.

Now you'll get a choice from several popular WordPress themes. This includes the theme we use for WebsiteGecko, Kadence (check out our Kadence review for more information about this theme).
This theme has my preference, although GeneratePress (check out our GeneratePress review for more info) and Blocksy are also excellent options.

Next, a number of plugins will be suggested to you. I cannot recommend any of these plugins, so I would uncheck all of them.

Then it's time to choose a domain name. You can enter a domain name you already have here, or register a new domain name.

If you have purchased a new domain, you will see the following screen afterwards.

And then you need to enter some personal information for your domain.

As soon as you have done this and clicked through, your account will be prepared for you.
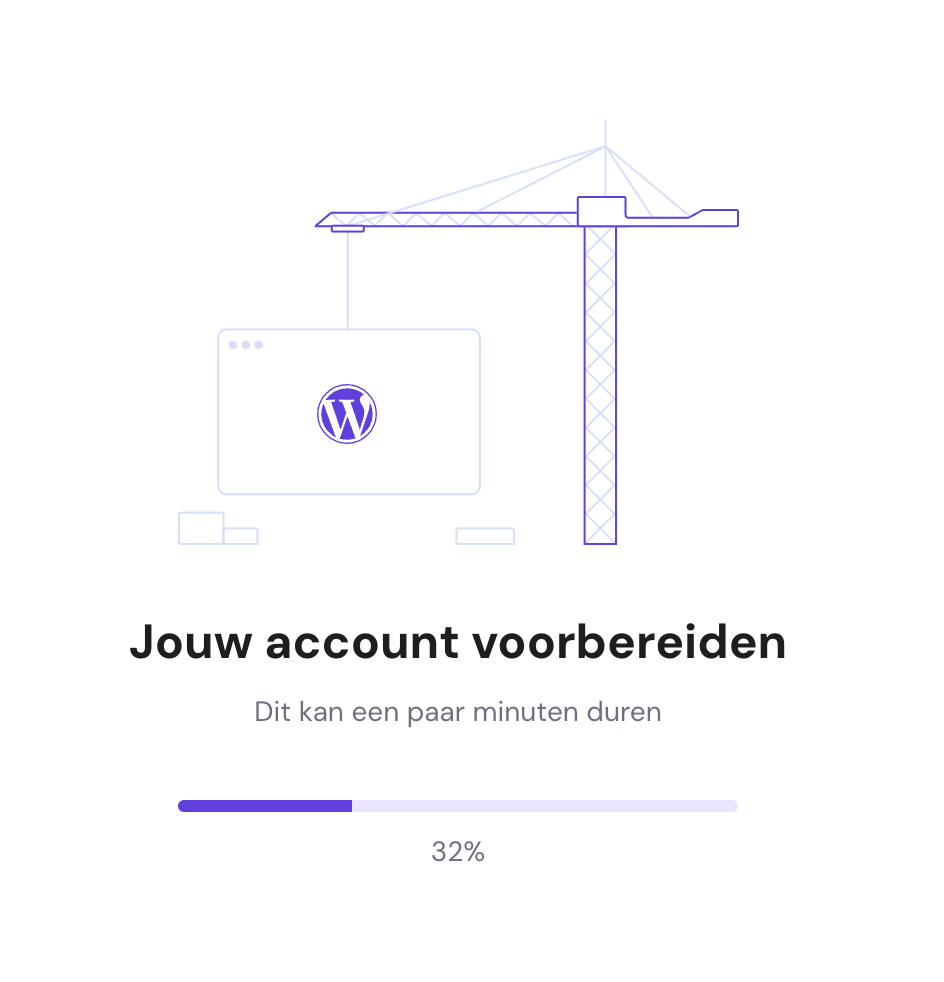
After that, you will land directly in the WordPress dashboard, from where you can start building your WordPress site.
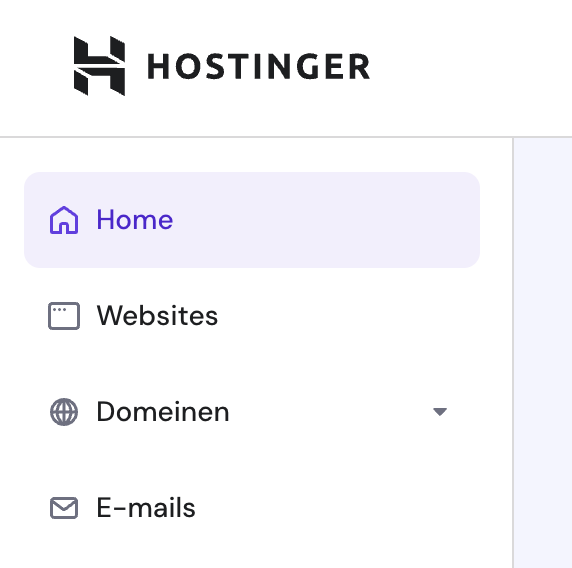
To navigate to the hosting panel, click on Go to hPanel.

From here you can manage your website(s) and domain(s).

If you've just registered a new domain name, it typically takes about an hour before this domain becomes active and is linked to your site (this happens completely automatically).

To run your site via a secure connection, you'll need an SSL certificate.
The good news is that this is automatically installed on your site with Hostinger.
The Hostinger dashboard
Hostinger uses hPanel, which is their self-developed hosting dashboard.
It offers more or less the same freedom of movement that you get with more well-known panels like Plesk or cPanel, but the interface looks a bit more user-friendly.

The dashboard immediately shows you which websites and domains you manage, lets you set up email addresses, and lets you manage your billing.
Via Account sharing links at the bottom left, you can give other people access to your Hostinger account.

A feature that I personally find very useful is Widgets.

This allows you to instantly visualize how many resources your websites use, or what the performance scores of your website are.

WordPress Update/Security Management
For a WordPress site, it's extremely important to ensure that the software your site runs on is up-to-date at all times. This includes the WordPress core, the WordPress theme, and the WordPress plugins. This ensures your site continues to function properly and significantly reduces the chances of malware infecting your site.
At Hostinger, you can update your site's software in the following way.
Within hPanel, click on the Manage button next to your hosting plan.

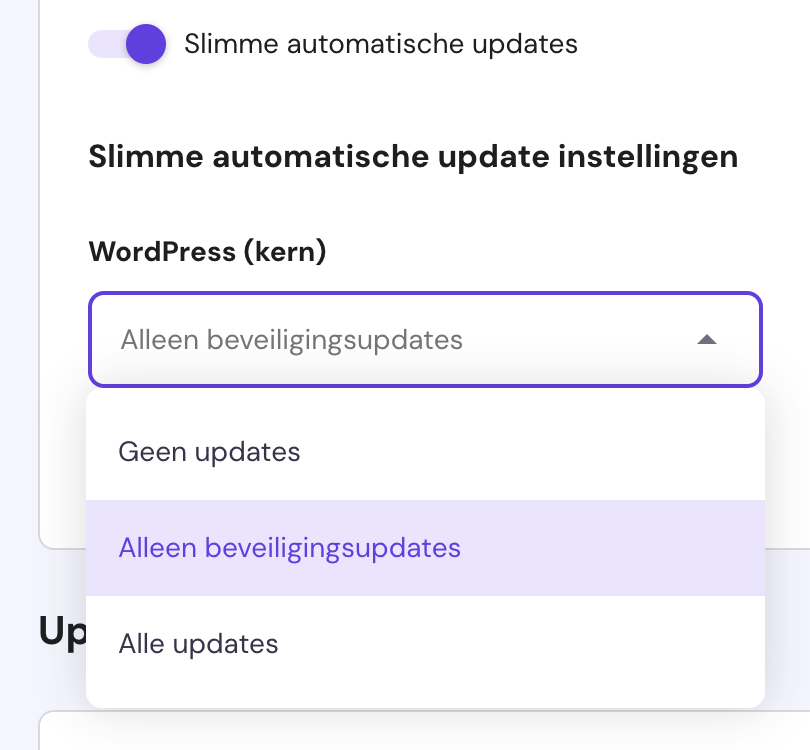
Then click on WordPress in the left menu, followed by Security.

Next, you can choose the update policy here regarding the WordPress core, themes, and plugins.
Standard settings are configured to “Security updates only” (which in practice means minor updates).
The automatic updates are therefore only implemented for security updates.

You can, however, also choose to perform all updates manually, or conversely, to have every update executed automatically.
When you scroll down on this page, you'll see exactly which themes and plugins are installed on your site and whether everything is up-to-date.
Creating a manual Backup
At Hostinger, daily backups are created for you that are saved for up to 7 days.
Sometimes, however, it can also be useful to create a manual backup.
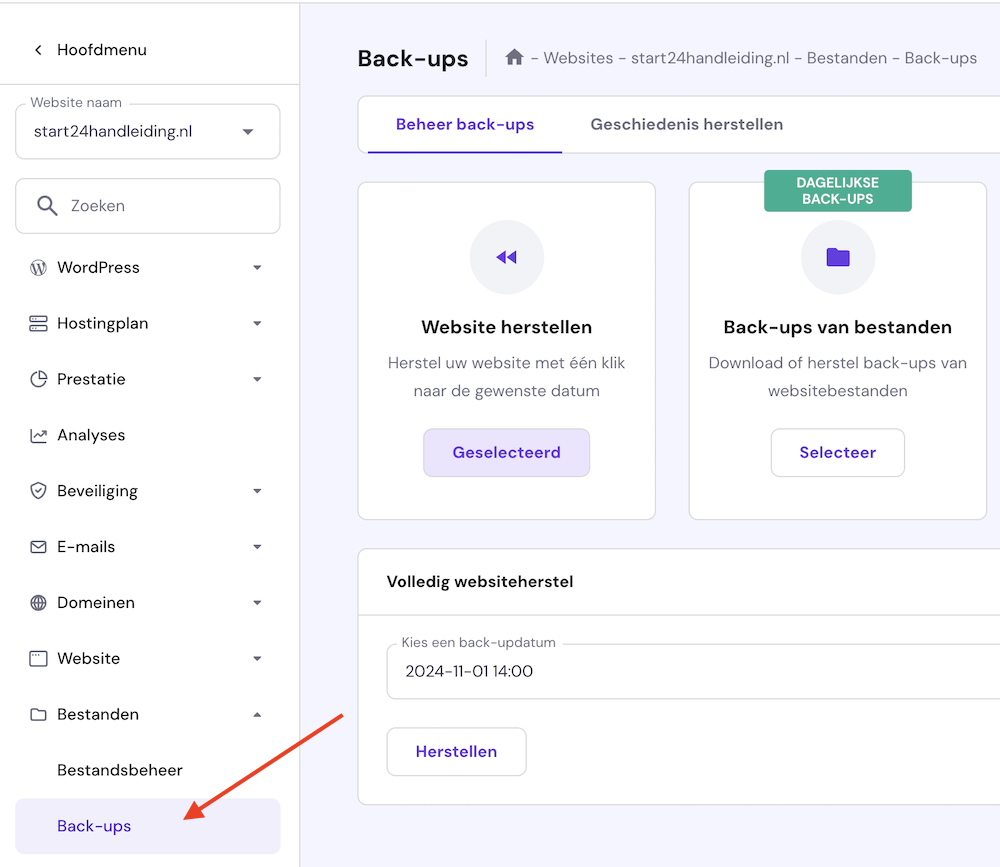
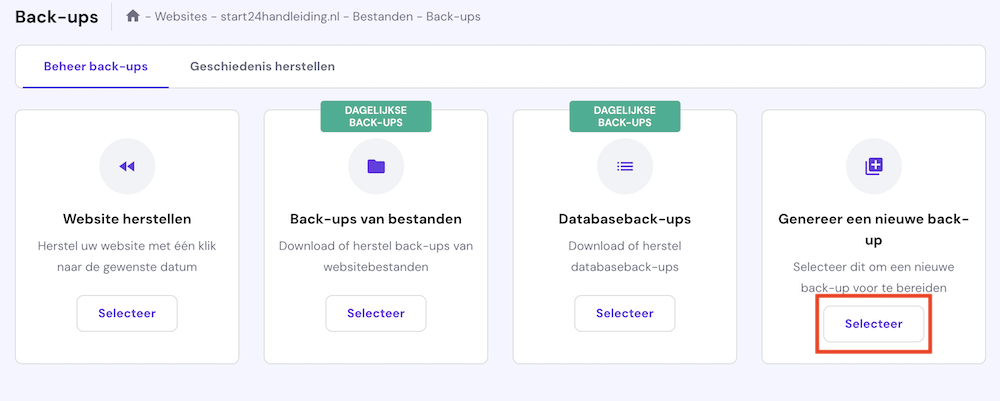
To do this, go to Websites, then Files and then Backups.
Then click the Select button below Generate a new backup.
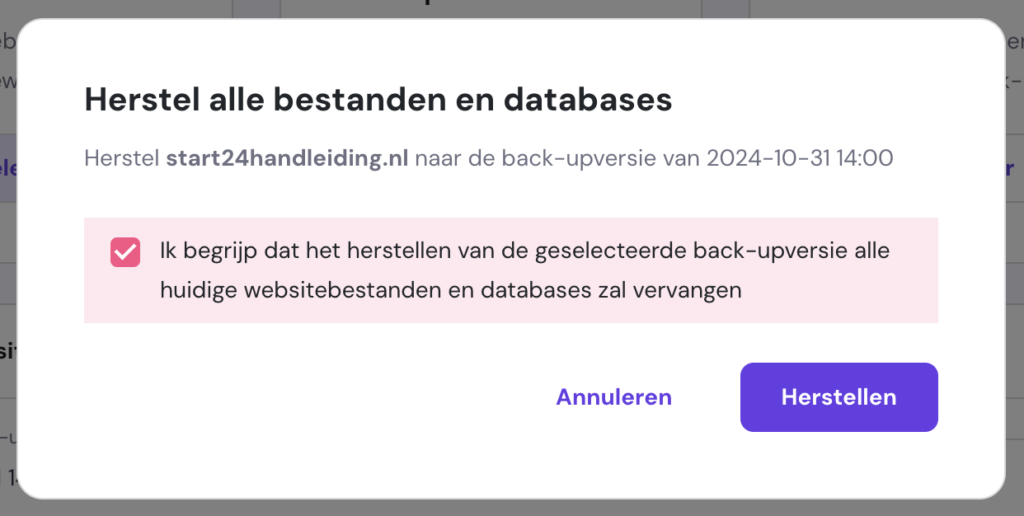
Restore a backup
You can restore a manually created backup or an automatic backup at any desired moment. This is very useful if something has gone wrong with your website.
Go to Websites then Files » Backups.
After that, click on Select at Website recovery, choose the backup you want to restore, and finally click on Restore.

Check the box that you see now and then click on Restore again.
Creating a staging site
A staging site is an exact copy of your website. On it, you can work on a new design or experiment with a new WordPress theme and new plugins, for example. All without your visitors noticing anything.
A staging site exists on a subdomain (for example, staging.yoursite.com).
To create a staging site at Hostinger, navigate to Websites, then WordPress » Staging, and then click on Create Staging.

Then you choose a name for your staging site (I usually just call this “staging”) and click on Create.

It can take up to 15 minutes for the Staging site to be created, but it's usually ready within a few minutes.
When it's ready, scroll down and click on Manage staging.

Please ensure that enforce HTTPS is checked. You can edit the staging site using the Staging Admin Panel button.

Setting the staging site live
When you're satisfied with your changes and want to make the staging site live, click on the 3 dots next to the staging site and click on Publish.

Then click Publish again.

If you would like to restore the old version of your site, click on the 3 dots again and then click on Revert.
Create Subdomain
To create a subdomain with Hostinger, go to Websites in hPanel and click on Dashboard.
In the left menu, click on Domains » Subdomains.

Choose a name for your subdomain and then click Create.

Next, as you scroll down, you'll see a list of your subdomains. From there, you can also delete subdomains using the trash can icon.

Installing WordPress on a subdomain
If you now want to install WordPress on your subdomain, go to Website » Installation program and click on Select under WordPress.

Choose a username and under installation path select the subdomain you just created (make sure you do this carefully, otherwise you might overwrite the website of your main domain). Then click on Next.

Click on Next again on the following screen, and within a few minutes WordPress will be installed on your subdomain.

Email setup
To set up a free email address for your Hostinger website, click on Emails from the hPanel.
Click then on the Installation button.

Then choose the domain for which you want to set up email and click on Confirm.

Then you can choose between free email or a paid plan.

Then choose a username and password and click on Create.

Through the icon below, you can then log in to your webmail.

Useful resources
These might also be interesting articles for you: